The lab
Here is how PortSwigger describes it
This lab contains a DOM-based cross-site scripting vulnerability on the home page. It uses jQuery's $() selector function to auto-scroll to a given post, whose title is passed via the location.hash property.
To solve the lab, deliver an exploit to the victim that calls the print() function in their browser.
Source, sink, and the hash#
two new pieces show up in this lab, so let us name them before we exploit anything. source is location.hash, the bit of the URL that sits after the #. the useful thing to know about the hash is that the browser never sends it to the server, it only ever lives inside the page, which is why a bug here is pure DOM XSS
the sink is jQuery's $() selector. Normally you use it to find things that already exist on the page, like $('h2'). but jQuery has a habit worth remembering. if the string you pass it looks like an HTML tag, it assumes you want to create that element rather than search for one, so it quietly builds a real node out of your text. Hand it <img ...> and you get an actual image on the page. on top of that the vulnerable code only runs when the hash changes, through an event called hashchange, and that small detail ends up shaping the exploit
Step 1 - reading the frontend source#
The home page has no search box and nothing obvious to click, so we fall back on one of the most useful habits in any web audit, reading the frontend source before touching anything. Open the page source and look through the scripts.
Tucked in there is a small jQuery handler that does the scrolling PortSwigger mentioned.
$(window).on('hashchange', function(){
	var post = $('section.blog-list h2:contains(' + decodeURIComponent(window.location.hash.slice(1)) + ')');
	if (post) post.get(0).scrollIntoView();});
Step 2 - opening the exploit server#
To land this on the victim we need the exploit server. In these PortSwigger labs the exploit server is just a page they give you to host your own malicious HTML and then send it to a simulated victim who opens it. It has a Body box for your markup and buttons to store it, view it yourself, and deliver it to the victim.
Open it and we will fill in the Body next.
Step 3 - building the malicious iframe#
<iframe src="https://LAB-ID.web-security-academy.net/#" onload="this.src+='<img src=x onerror=print()>'"></iframe>
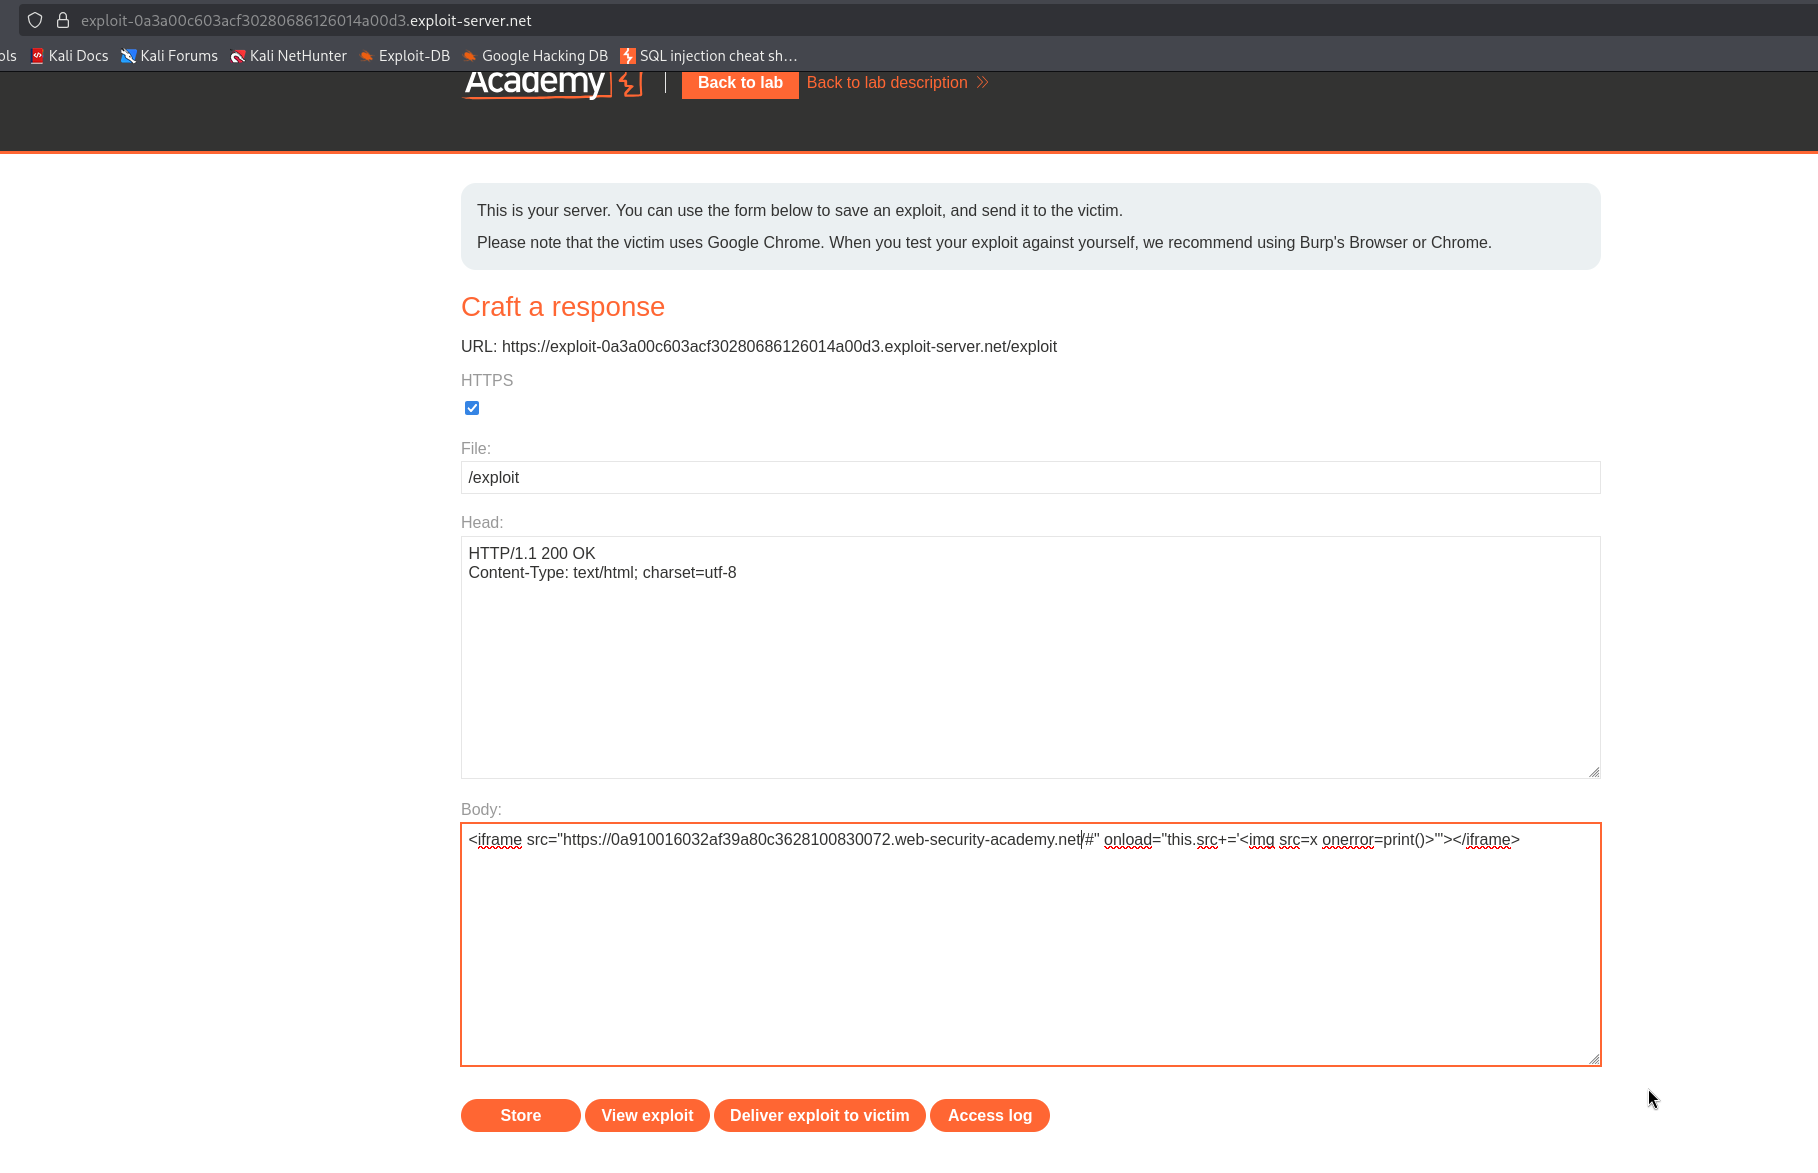
It is small, but every piece is doing a job, so let me walk it.
We already saw that the vulnerable code only runs on a hashchange. That is the catch. A hashchange does not fire when a page first opens with a hash already sitting in the URL, it fires only when the hash changes while the page is already open. So we cannot simply send the victim a link with the payload in the hash, because on a fresh load nothing would trigger.
The iframe gets around this in two moves. First it loads the lab home page with nothing but a bare # on the end, so the page opens as normal. Then the onload handler runs, and this.src+='<img src=x onerror=print()>' tacks our payload onto the end of that address. Because only the part after the # changed and the page was already loaded, the browser fires a hashchange, which is exactly the event the vulnerable code has been waiting for.
From there the handler reads the hash, which now holds <img src=x onerror=print()>, and passes it into $(). jQuery spots the tag, builds a real image element out of it, and the browser tries to load the picture from x. There is no such image, so loading fails, and a failed image runs whatever sits in its onerror, which here is print().
Step 4 - firing print and delivering to the victim#
Store the exploit, then click View exploit to run it against yourself first. The page loads, the hash flips, the image fails, and the browser print dialog opens, which is our proof that print() fired.
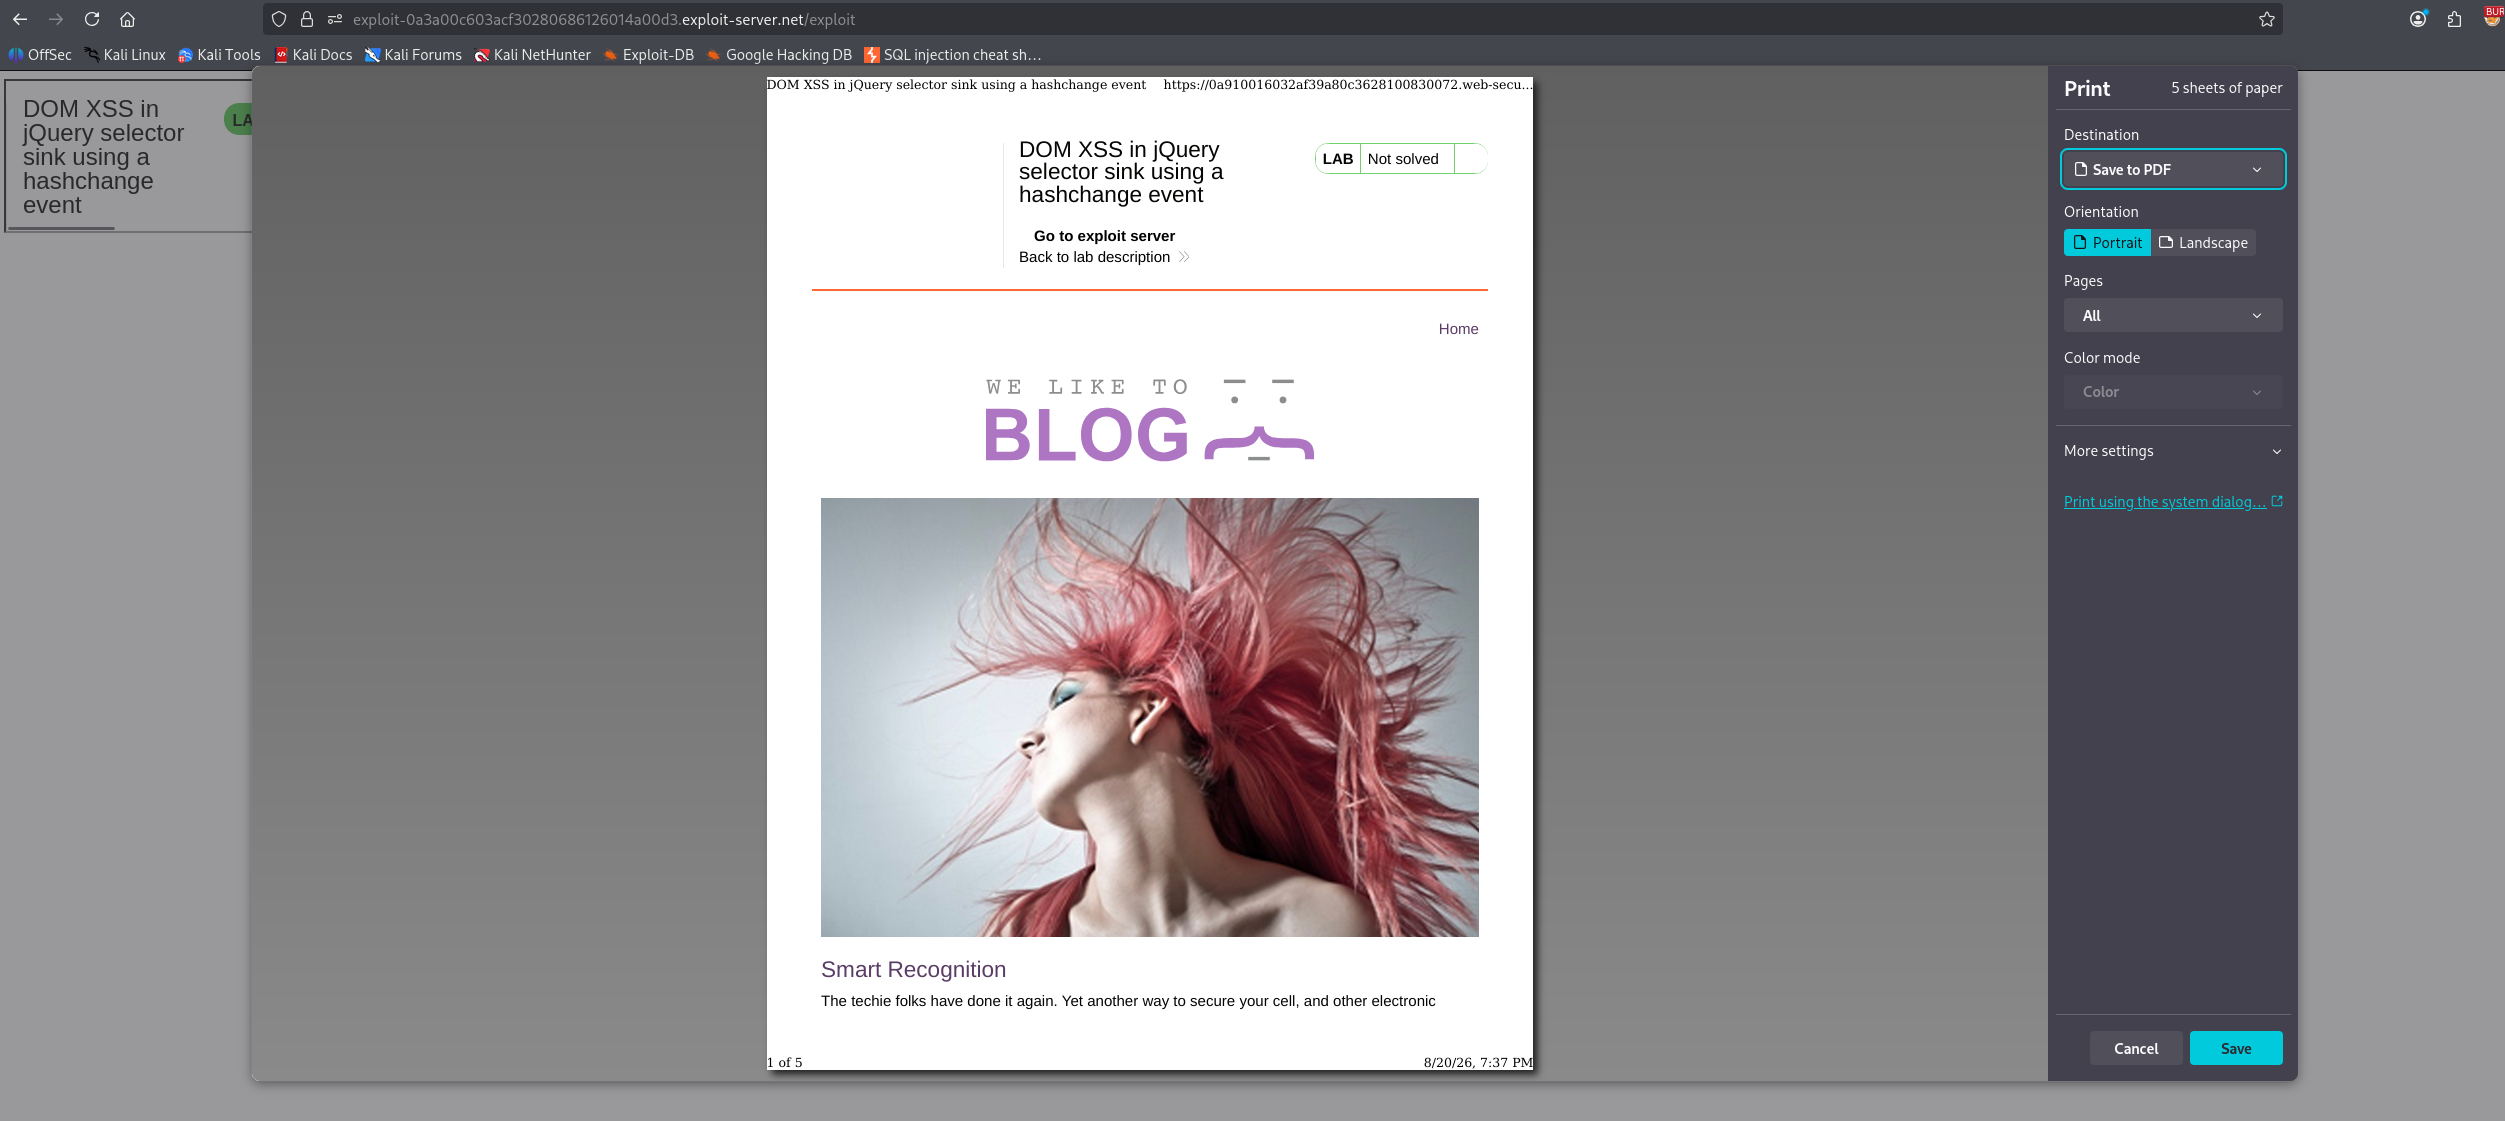
Now go back to the exploit server and click Deliver to victim. Their browser opens the same page, the same chain plays out in their session, and print() is called for them.
With this, the lab is solved!